Types of mastic and sealant
A wide selection of silicone mastics are available for sealing the gap around baths, basins and other sanitary ware. The purpose is to provide a water tight seal so that splashes of water are fed back into the bath / basin rather than down behind the back of them. Always read the manufacturer’s label to check on their suitability for the particular situation and material you have.
This is one of those jobs which can quickly distinguish the amateur from the professional. But, with a little practice and by following these steps, your work will fall into the latter category.
Preparing the area for sealing
Before you do anything else, you will need to ensure that the edges which are to be sealed are clean and free from grease. This is to ensure that the sealant will adhere properly. Again, check the details on the tube, but generally, wiping the surfaces with a rag and methylated spirits will do a good job of this. Take care that this will not damage the surfaces – paint for example becomes softened by meths. If you are concerned, test a small area where it will not show. As with all chemicals, use them with care. Always read the labels.
Large gaps will need to be filled to save wasting the silicone or, indeed have it disappear altogether. Take some old sheets of newspaper and fold them lengthways again and again until you have a long ‘fillet’ of paper. Feed this into the gap and pack it in carefully using a paint scraper to push it below the surface by about 1/4 inch.
Masking the edges
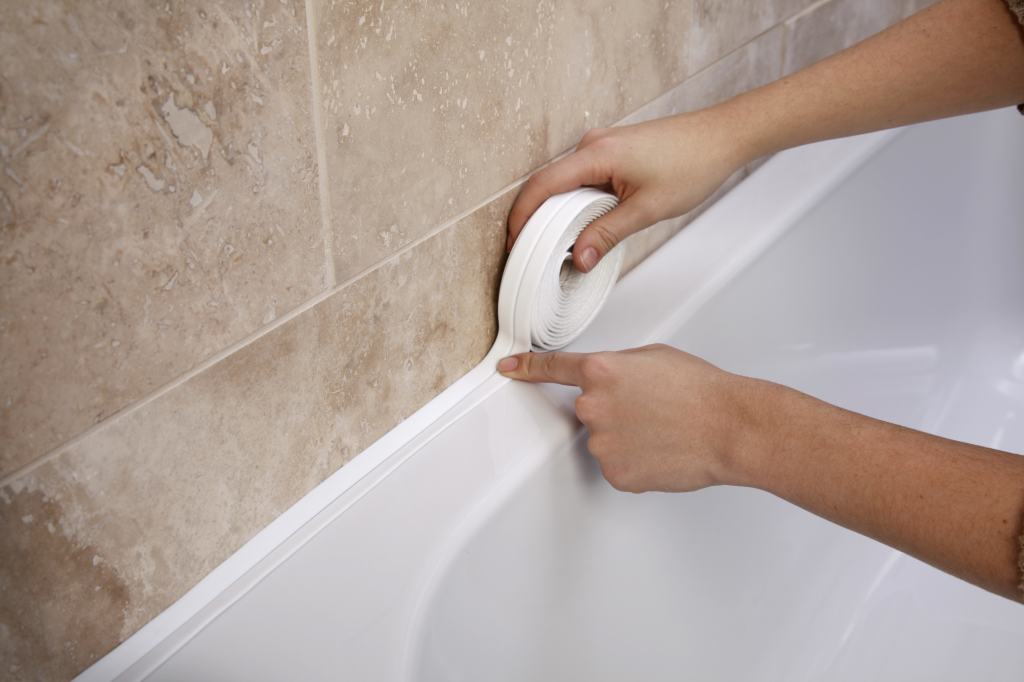
For a first-class job, the edges of the area need to be masked off to protect them. Using 1" masking tape, apply this along the edge of the bath / basin about 1/4" out from the tiled wall. At the corners, you will need to trim the tape with scissors to suit. Repeat the process for masking the tiles, about 1/4" up from the edge of the bath / basin.
Smooth down the masking tape to ensure good contact.
Lay some old newspaper on the floor nearby so that you have a place to lay tools etc. Silicone is awkward to clear up or remove – particularly from things like carpet!
Preparing the sealant
Trim the nozzle of the sealant tube carefully, using a craft knife. This should be at a 45 degree angle. The farther down the nozzle you cut, the wider the bead of silicone produced. So, gauge how wide the gap is, and cut accordingly.
The tube itself will be sealed, so the end which fits into the nozzle will also need to be cut off with a craft knife. Now, fit the nozzle and load the cartridge into the applicator gun. Squeeze the trigger until the plunger moves up to the base inside the cartridge. Once you feel resistance, stop squeezing or you will begin to push out the silicone.
Allowing for movement
Some items are prone to movement and this must be allowed for. For example, plastic baths which will move in use, will need to be half filled with water prior to pointing.
Using and applying sealant
Hold the mastic gun at a 45 degree angle to the surface with the nozzle in contact with the edges of the masking tape. Now, squeeze the trigger evenly and, at the same time, draw the gun back along the gap. This will feed out a bead of sealant into the gap and should sit just over the tape on each side. You will need to gauge your speed and delivery so that enough silicone is placed, but not so much that you have a great deal of excess to remove.
Shaping the sealant
Once you have reached the end, or if you need to stop, use your thumb to push the pressure release lever. When the whole run has been completed, check back to ensure no bits have been missed or need topping up. If they do, hold the nozzle just above the surface and squeeze out a little more.
Put the gun to one side on the old newspaper and arm yourself with an old rag. Dampen your finger in water and, starting at one end, draw it back along the mastic as if you were smoothing down the tape. Try to do this in one movement to create an even effect. If you have too much excess, you will need to stop and wipe this from your finger before it begins to spill over onto the surroundings. Dampen your finger lightly each time and, when you re-start, begin at a point a couple of inches before the point you left off, gradually lowering your finger to make contact as you move along (like a plane coming in to land). This will ensure blending with previously smoothed areas. The result should be a concave fillet which sits between the tape edges. Any silicone on the tape should, at this stage, be only wafer thin.
Finishing
The tape then needs to be removed before the silicone dries. To do this, start with the tape on the wall tiles. Peel it back on itself and out at an angle of about 45 degrees. Take care not to let it drop back on the uncured work. Repeat for the bath / basin tape. As you remove each strip, place it on your old newspaper so that it can easily be disposed of later.
Now leave the sealant to fully cure, before emptying the bath or allowing it to get wet.


